In the world of digital photography, expressiveness is not only in the plot and color, but also in detail. It is they who create a feeling of volume, textures, make the image alive and convincing. However, strengthening sharpness and contrast is a subtle process. Excessive editing can lead to the appearance of artifacts, digital noise and loss of aesthetics.
On the blog Edit With Gimp We defend the philosophy of conscious editing. Today's topic is devoted to working with microcontrast and sharpness - the very elements that, when used correctly, make the image expressive without the need for sharp filters and gross techniques. We will show how to use the GIMP tools for subtle accentuating textures and parts, while maintaining the cleanliness and softness of the image.
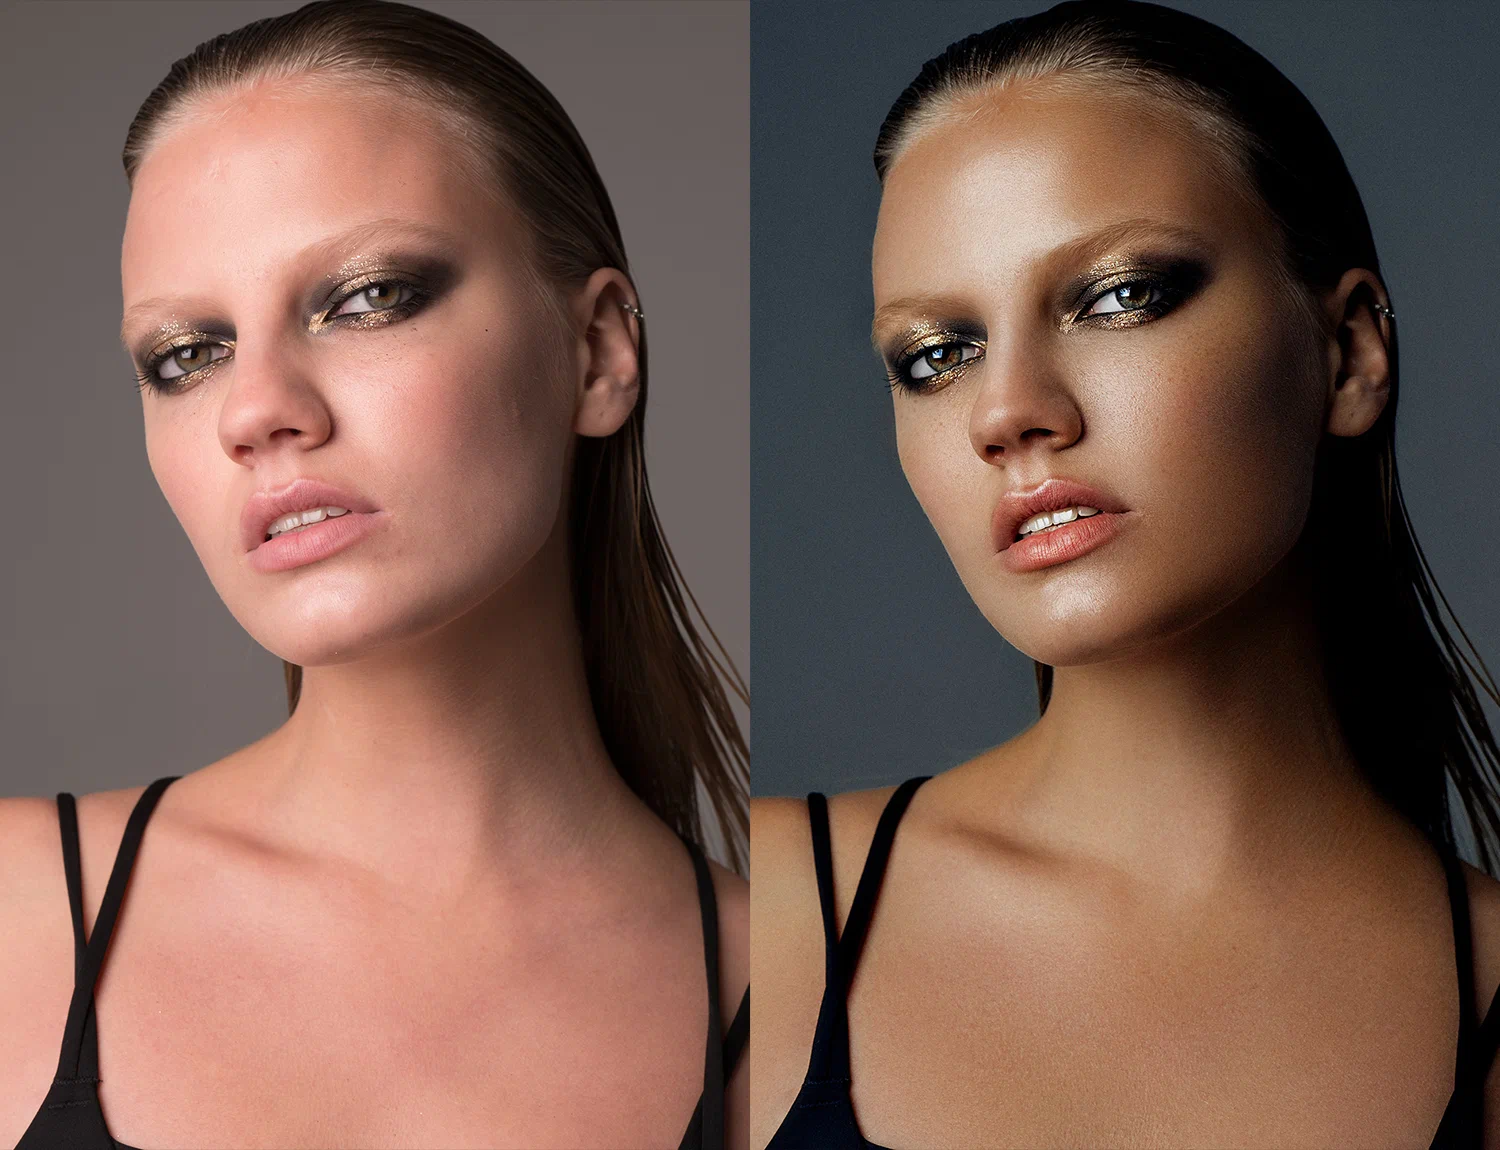
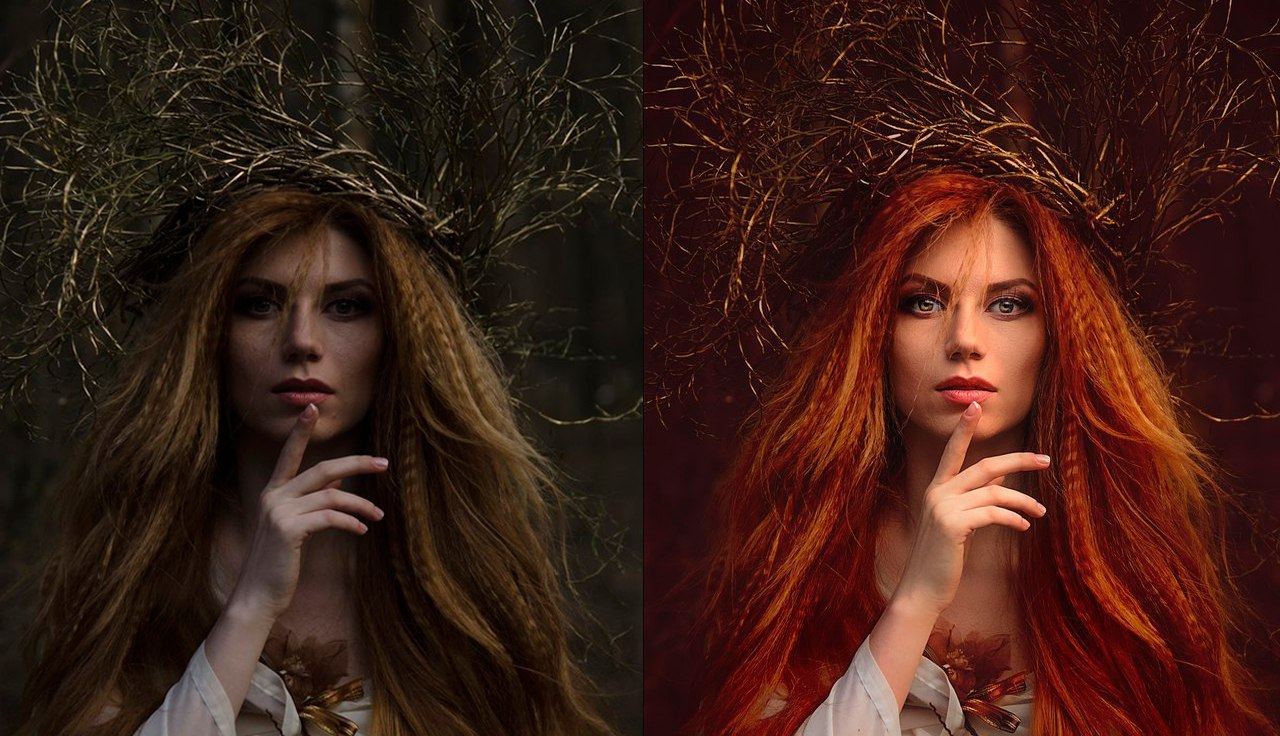
Microcontrast is the ability of the image to convey the slightest differences in brightness between neighboring pixels. It is he who is responsible for the visual perception of the texture of the skin, the surface of fabric, wood, marble and other small elements. A well -tuned microcontrast adds a picture of volume, depth and professional appearance.
Unlike global contrast, which affects the entire range of tones, microcontrast emphasizes small transitions, especially in medium and shadow sections. This is especially true for portraits, macro- and subject shooting.
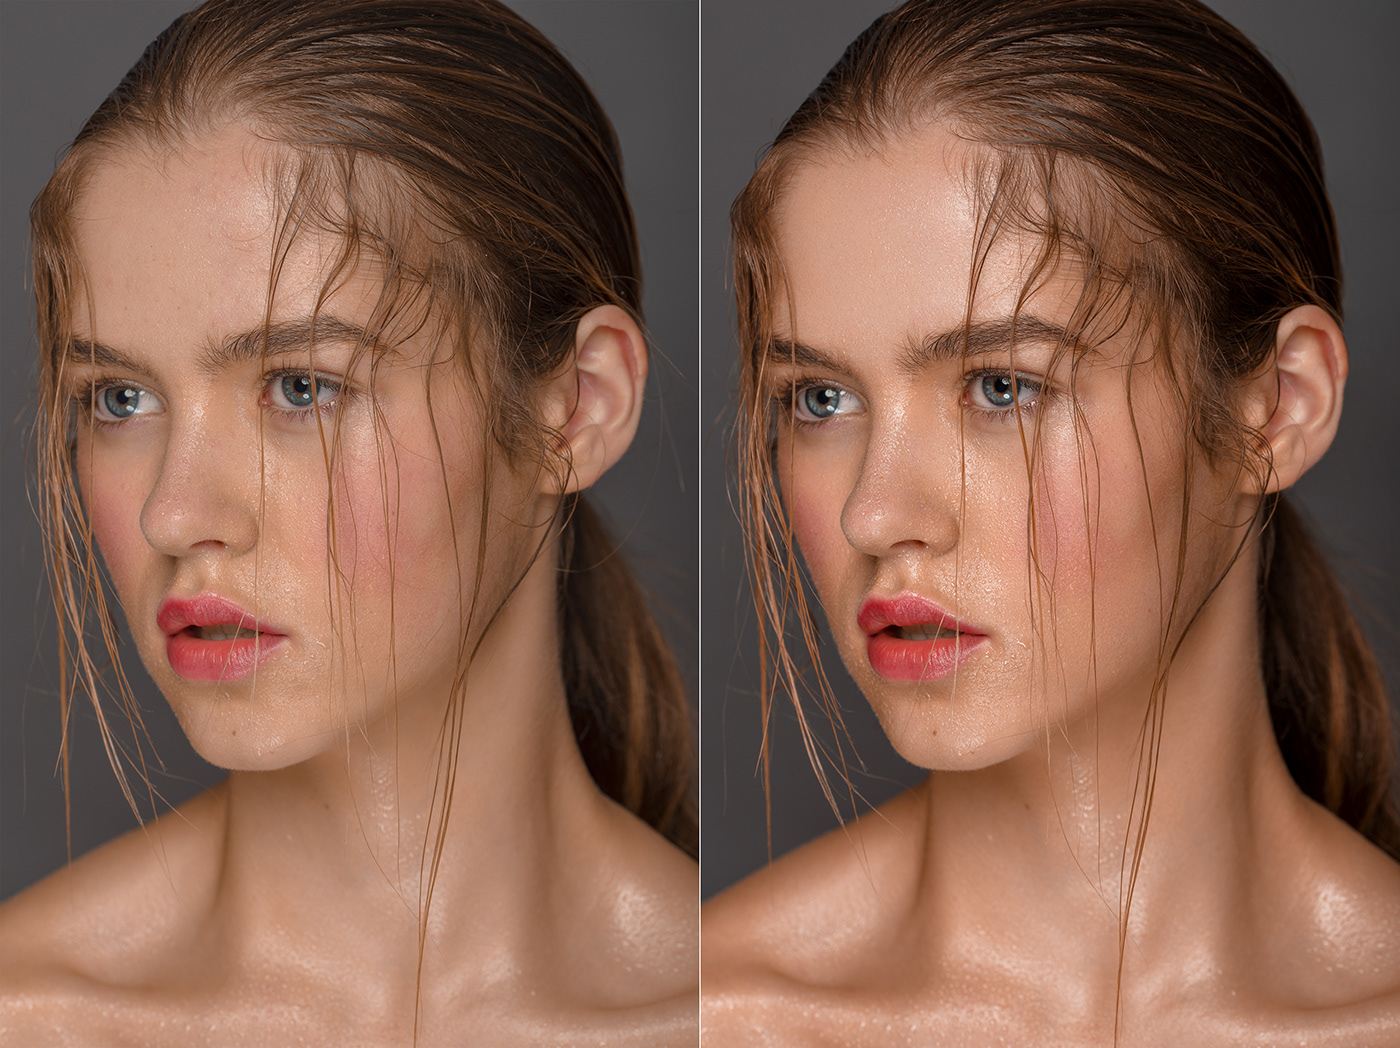
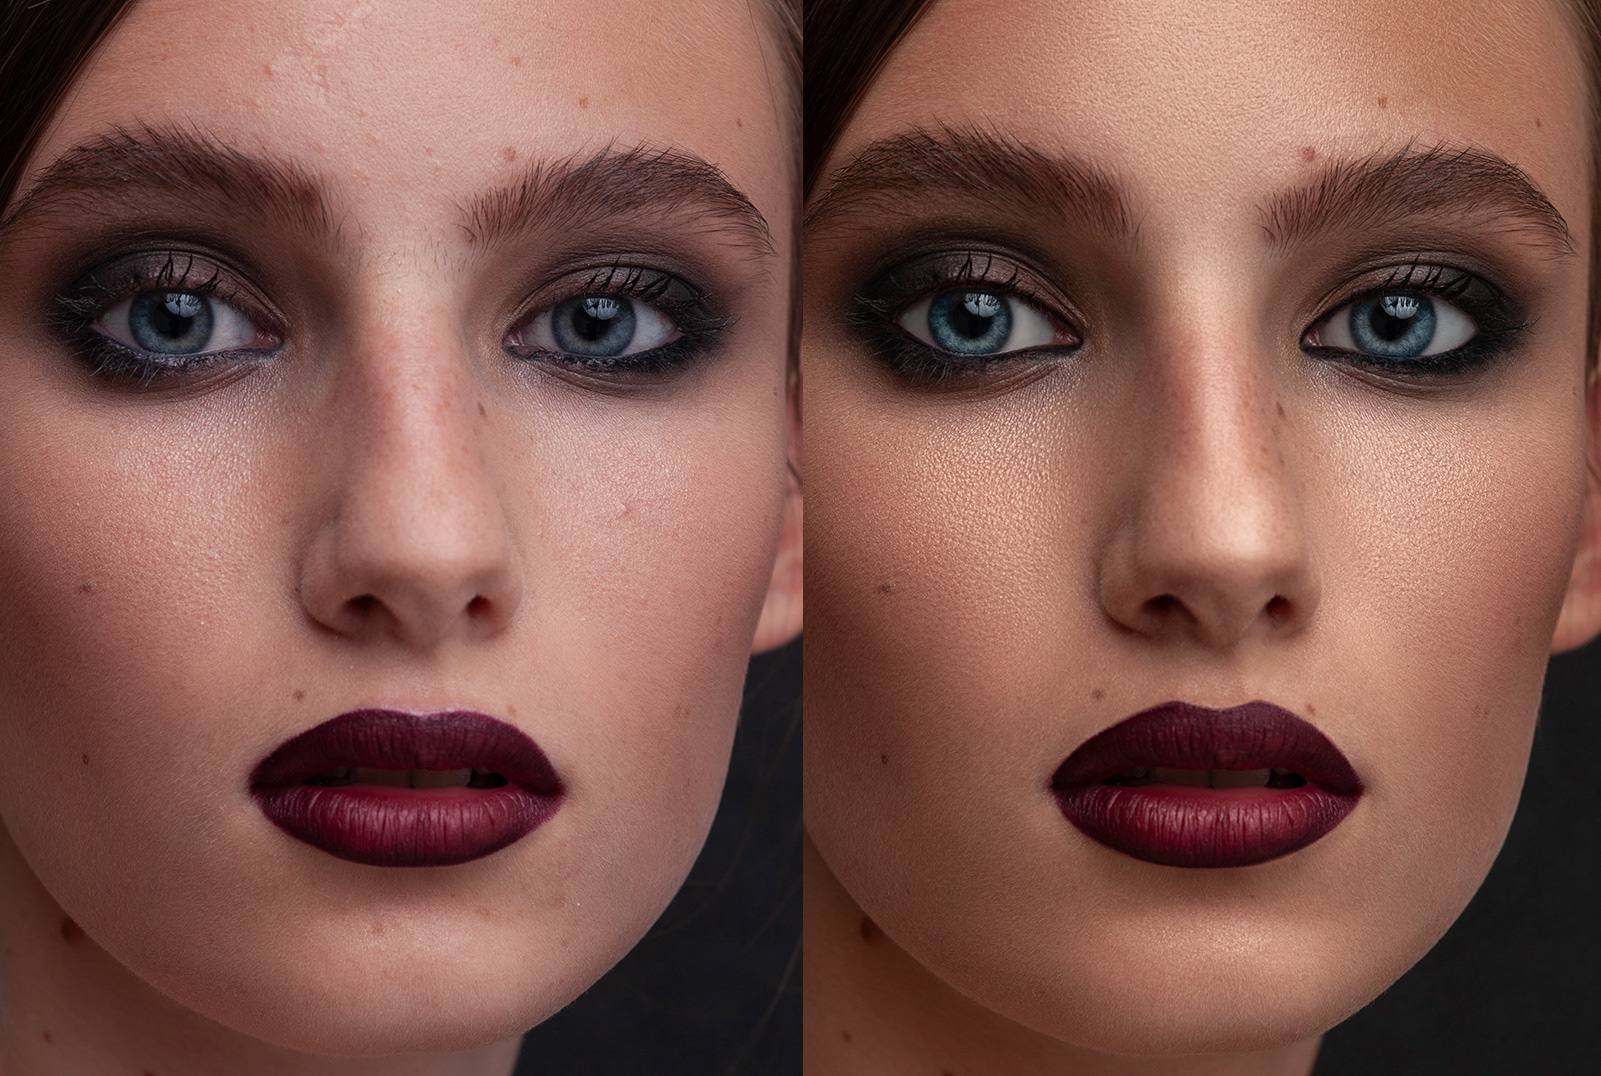
Sharpness is not just an increase in clarity. This is work with how the eye perceives the outlines of objects. Good sharpness is not striking, but makes the image clear and pleasant. Poor sharpness destroys the texture, makes the picture tough, artificial and tiring for perception.
The task of the photo editor is to strengthen expressiveness, and not give the image the effect of a “crossed” picture. GIMP has tools that allow you to do this gently, exactly and taking into account the genre specifics of the frame.
This is one of the most popular ways to emphasize the details. Despite the name, this tool enhances sharpness, increasing contrast on the boundaries of light and dark areas.
How to use:
The effect should be used on a layer duplicate and, if necessary, limit a mask, especially in portraits.
The High Pass method is a professional way of increasing sharpness, which allows you to work with details without changing color balance and brightness.
Step -by -step scheme:
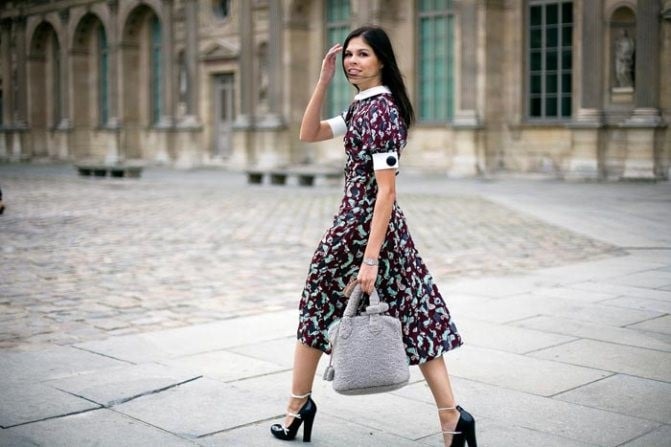
This method is especially good for filming with many details: architecture, fabric textures, hair, wood.
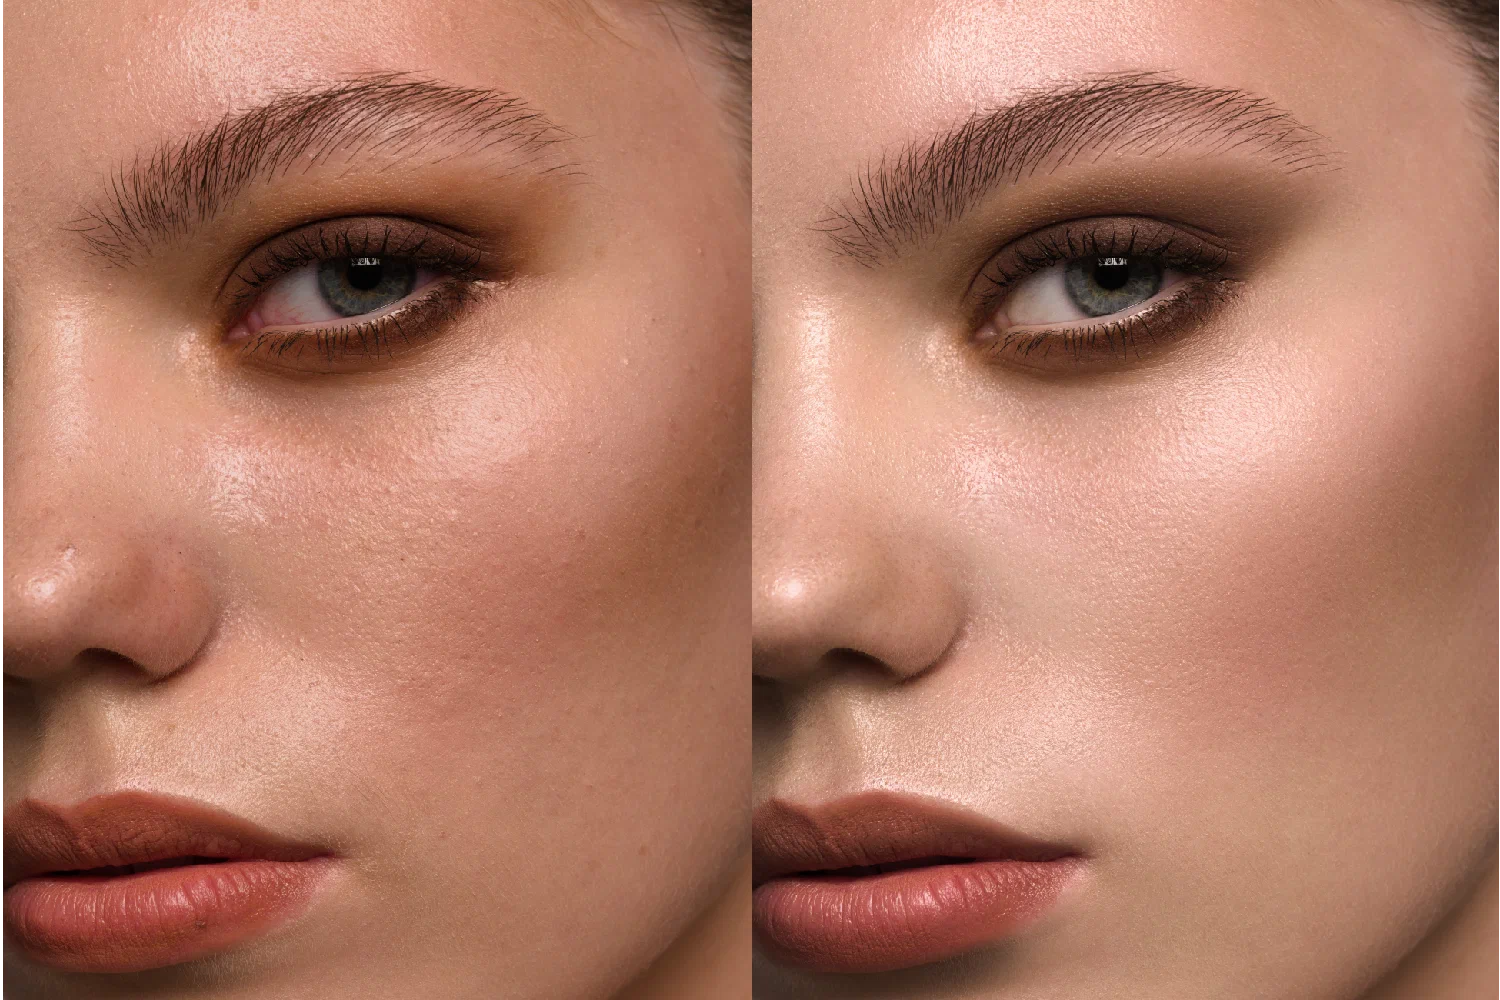
Instead of using global tools, in GIMP you can manually emphasize areas with a pronounced texture. It can be:
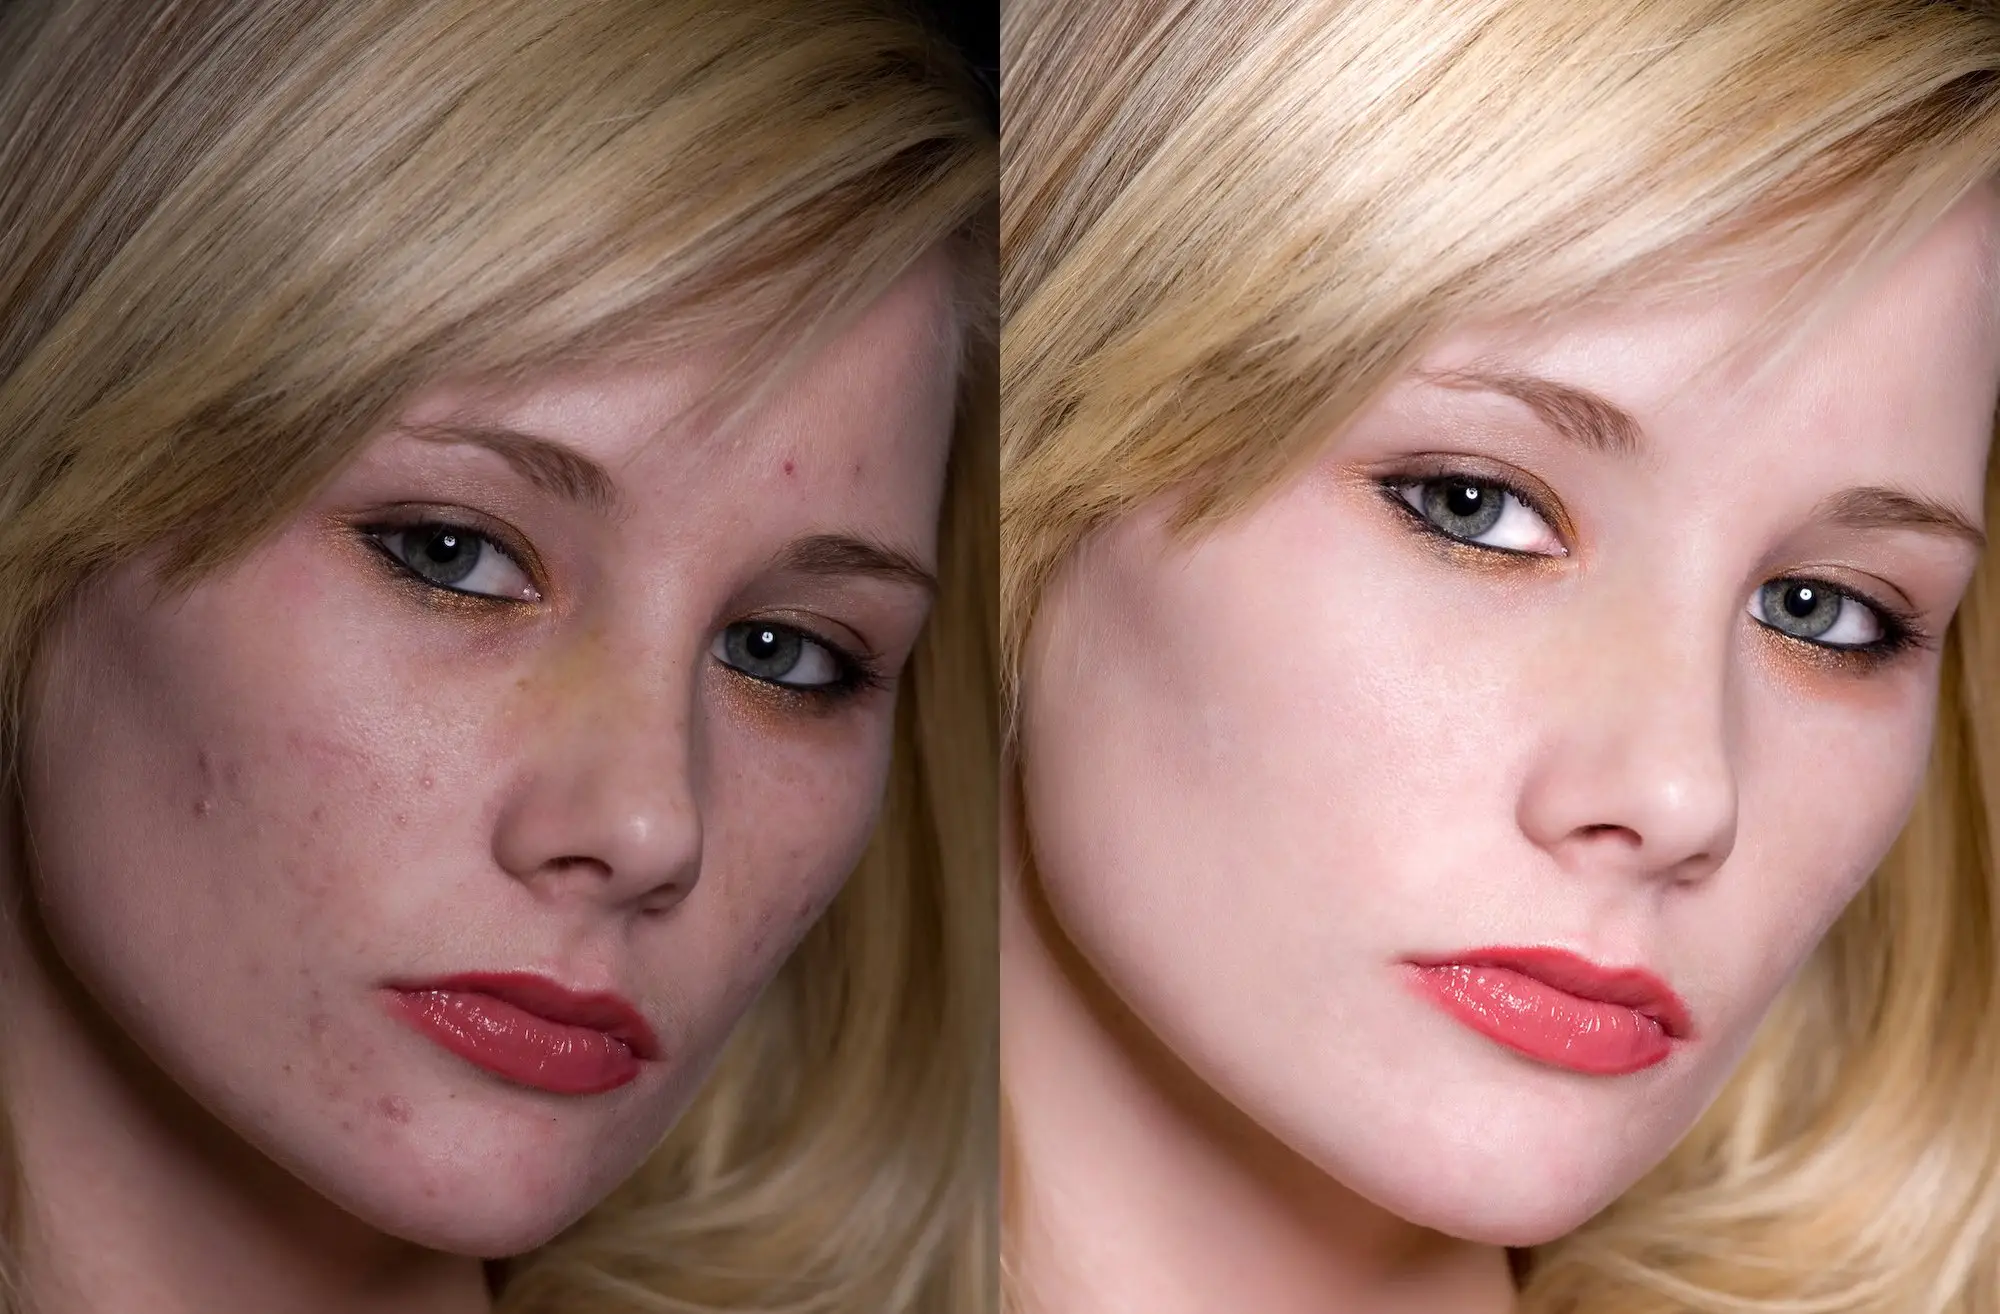
Using soft brushes and work in layers, you can selectively affect the perception of details - emphasize the eyes, lines of the mouth, edges of the clothing, elements of the background, leaving the rest of the frame soft and harmonious.
One of the main problems in increasing sharpness is the appearance of noise. This is especially noticeable on homogeneous backgrounds or in shadows. To avoid this:
Sometimes it is useful to manually return a small grain - it makes the frame more organic than digital “sterility”.
Microcontrast and sharpness are the same strokes that turn the image from a simple picture into a complete visual history. But these strokes require accuracy, taste and moderation. Instead of aggressive filters and effects, thin settings based on the understanding of light, texture and visual perception work much more effectively.
GIMP offers rich tools for this task - from an slow mask to the High Pass methods and local correction. On the blog Edit With Gimp We believe that technical skill and art instructions go hand in hand. Having learned to work with the details delicately, you will begin to create not just clear, but truly expressive photos.

Hello and welcome to our website! We are glad that you are with us. Our site offers the latest news and articles to keep you up to date. We hope you have a great time here and get in a good mood.


Hilda Bass
When I don't know how to explain something to a friend, I go to this blog - it always helps to convey information in simple language
Jasleen Glover
I have already shared your blog with my friends. They're thrilled too!